如何使用Google 登錄接入之Unity
來源:
未知 |
責任編輯:傳說的落葉 |
發(fā)布時間: 2018-03-05 11:39 | 瀏覽量:
unity3d的項目有的需要使用Google登錄,下面就讓納金網(wǎng)小編來告訴大家,使用Google登錄需要注意的那些坑:
第一步:
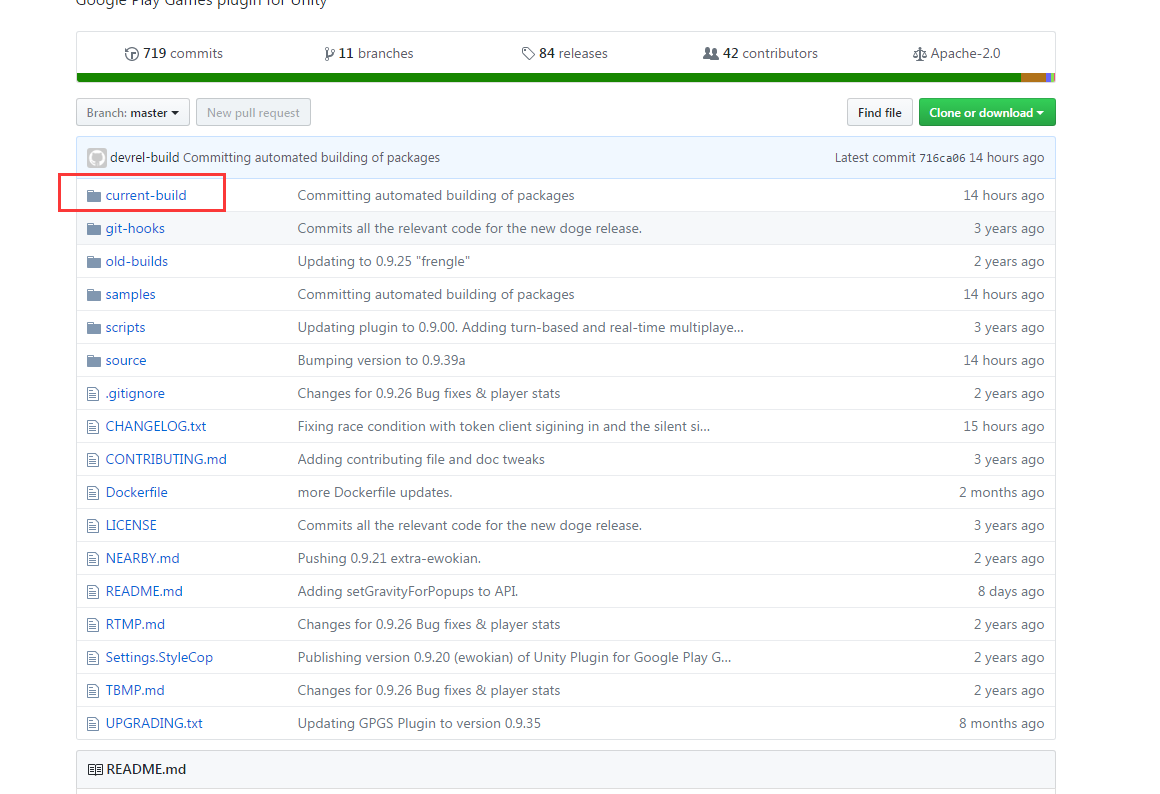
Unity接入Google登錄官網(wǎng)接入文檔(不用FQ也是可以打開的):https://github.com/playgameservices/play-games-plugin-for-unity
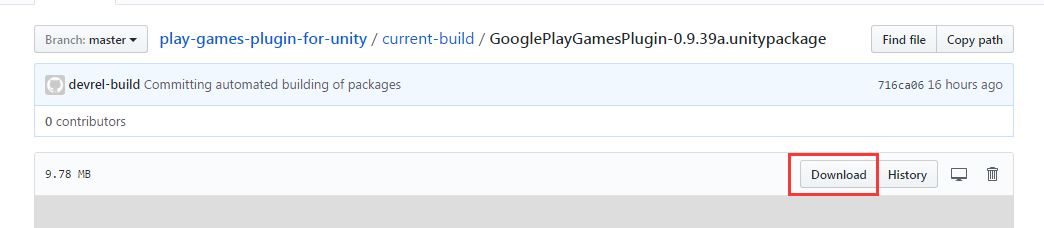
點擊current-build后下載 GooglePlayGamesPlugin-0.9.39a.unitypackage

第二步:
下載后的文件雙擊就可以導(dǎo)入unity工程了。
導(dǎo)入后如果碰到unity報錯

則需要打開SDK Manager下載
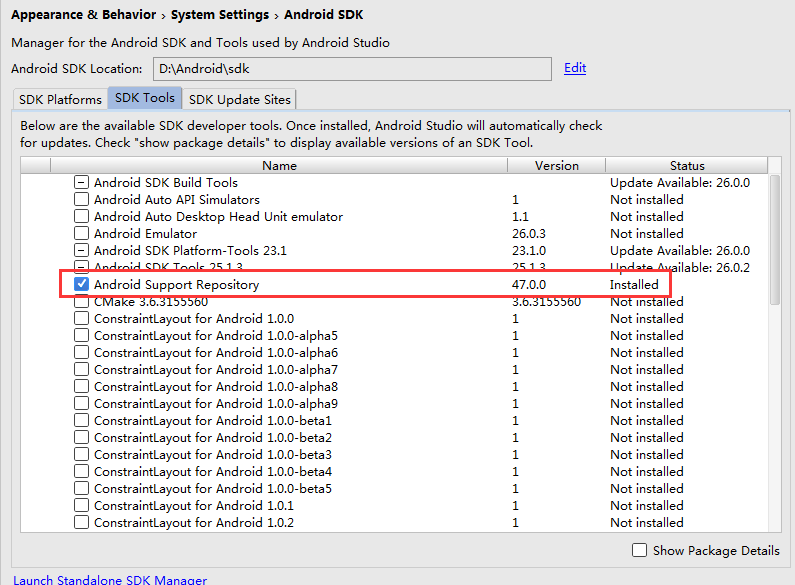
切換unity工程為android平臺(File->Build Setting->Android->Switch platform

第三步:
加下來點擊unity菜單中的Window->Google Play Games->Setup->Android setup...,(操作如下圖)

就可以打開如下界面:

第四步:

接下來就是填寫上圖中2個紅框的部分。
第一個紅框中填寫的內(nèi)容,其實是你在Google申請的應(yīng)用的成就信息。
第二個紅框(即Client ID)填寫的是Google APIs中項目OAuth 2.0客戶端ID中網(wǎng)頁客戶端(Web客戶端)的客戶端ID(這里特別要注意了 必須填寫Web客戶端的ID,否則是不行的)
網(wǎng)址:https://console.developers.google.com/apis/credentials?project=myproject-1234
填寫完事后點擊Setup按鈕,設(shè)置完成
接下來就是Unity中寫登錄代碼了

第五步:
打包之前 記得設(shè)置最小的API Level為4.0以上

-
分享到:
相關(guān)文章


網(wǎng)友評論
全部評論:0條